To follow along, start the PEAT software, select the Project Management—Cost and Schedule Risk module (Figure 2.1), and click on Load Example. The software will load with some example projects. We begin by illustrating a simple linear path project in the Project D tab (Figure 2.2). Click on this tab to get started. Note that users can click on the Projects menu to add additional projects or delete and rename existing projects. The example loaded has 5 sample predefined projects. In this simple linear path project (Project D), there are 11 sample tasks and each task would be linked to its subsequent tasks linearly (i.e., Task 2 can only start after Task 1 is done, and so forth). In each project tab, the user has a set of controls and inputs:
- Sequential Path versus Complex Network Path. The first example illustrated uses the sequential path, which means there is a simple linear progression of tasks. In the next example, we will explore the complex network path where tasks can be executed linearly and simultaneously and can be recombined at any point in time.
- Fixed Costs. The fixed costs and their ranges suitable for risk simulation(minimum, most likely, maximum) are required inputs. These fixed costs are costs that will be incurred regardless of whether there is an overrun in schedule (the project can be completed early or late, but the fixed costs will be the same regardless).
- Time Schedule. This control is for setting the specific period time schedule (minimum, most likely, maximum) in days, weeks, or months. Users will first select the periodicity(e.g., days, weeks, months, or unitless) from the droplist and enter the projected time schedule per task. This schedule will be used in conjunction with the variable cost elements (see next bullet item) and will only be available if Include Schedule-Based Cost Analysis is checked.
- Variable Cost. This is the variable cost that is incurred based on the time schedule for each task. This variable cost is per period and will be multiplied by the number of periods to obtain the total variable cost for each task. The sum of all fixed costs and variable costs for all tasks will, of course, be the total cost for the project (denoted as Project Total Cost ).
- Overrun Assumption. This is a percent budget buffer or cushion to include in each task. This column is only available and used if Include Budget Overruns and Buffers checkbox is selected. See Chapter 6 for more details on this functionality and associated calculations.
- Probability of Success. This allows users to enter the probability of each task being successful. If a task fails, then all subsequent tasks will be canceled, and the costs will not be incurred, as the project stops and is abandoned. This column is available and will be used in the risk simulation only if Include Probabilities of Success checkbox is selected. See Chapter 6 for more details on this functionality.
- Run and Run All Projects. These run buttons will perform the relevant computations based on the settings and inputs, and also run risk simulations if the Perform Risk Simulation checkbox is selected (as well as if the requisite simulation settings such as distribution type, number of trials, and seed value settings are entered appropriately). This will run the current project’s model. If multiple projects need to be run, you can click on the Run All Projects button instead. By default, all projects are run simultaneously. If the checkbox Run Sequentially is selected, the simulation will be run on one project at a time.
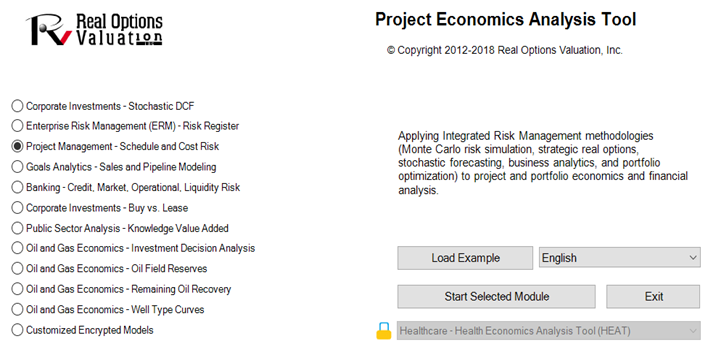
Figure 2.1: PEAT––Project Management Module